
Watch the full walkthrough:
I spent way too long thinking this wasn't possible.
You build in Framer, you love how it looks, and then a client asks "okay but how do people actually buy things?" and you either send them back to a Shopify theme or you start googling things that lead nowhere useful.
Turns out it is possible. And it's not that complicated once you know the steps. Here's exactly what I did.
Why bother doing this at all?
Shopify themes work. They're just not Framer. You end up spending half your time fighting the template instead of designing — moving padding around, overriding CSS that comes back after the next theme update, compromising on layouts because the section just won't do what you want.
Framer lets you build exactly what you designed. The problem was always "but where's the cart?" This setup fixes that.
And unlike heavier commerce setups that lock you into a monthly subscription before you've shipped anything, you can start this for free and only pay once you actually need the pro features.
What you need before you start
Nothing crazy:
A Shopify account (free trial is fine to test)
A Framer account
The Framerfy plugin from the Framer Marketplace
Access to Shopify's Storefront API (sounds scarier than it is, takes about 5 minutes to set up)
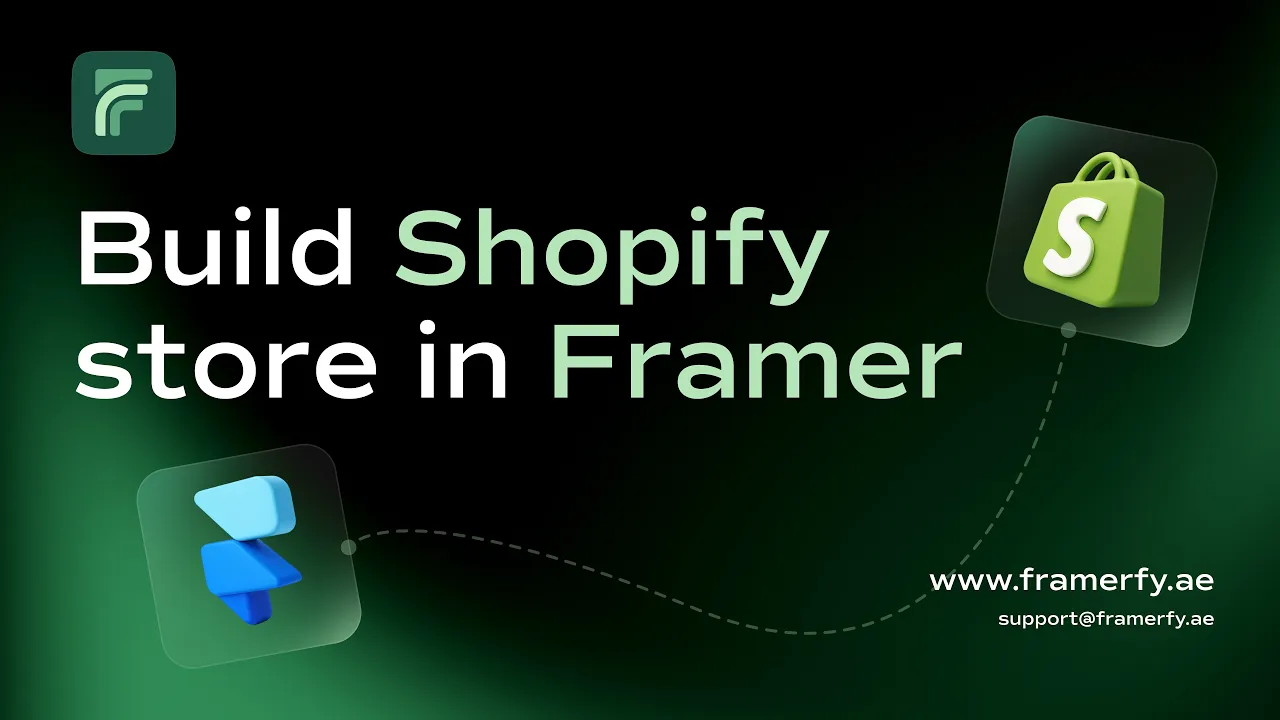
Step 1: Install Framerfy
Open Framer, go to Plugins, search Framerfy, install it. It shows up in your left sidebar. That's it.
Step 2: Set up the Storefront API in Shopify
This is the part that looks intimidating but really isn't. In your Shopify admin go to Settings, then Apps and sales channels, then Develop apps. Create a new app and turn on Storefront API access. You need:
Read products
Read product listings
Read inventory
Cart management
Save it and copy the public access token it gives you. You'll paste this in the next step. (Full walkthrough with screenshots is in the documentation if you want to follow along click by click.)
Step 3: Connect the two
Back in Framer, open the Framerfy plugin. Paste your store URL and the token from the previous step. Hit Connect.
It pulls in your entire product catalog within a few seconds. The first time I saw my actual products appear in the Framer panel I genuinely got excited.
Step 4: Drop in the components
This is where it gets fun. Framerfy gives you real components you just drag onto the canvas:
Product Grid that actually shows your products
Add to Cart button connected to live inventory
Cart Drawer with quantity controls
Checkout Button that sends people to Shopify checkout
Variant Picker for size, color, whatever options you have
Drag them in, they connect automatically. No wiring anything up manually.
Step 5: Style everything
This is the whole point of doing this in Framer. Every component is fully styleable. Change the fonts, the colors, the spacing, add hover animations. Your cart can look completely different from any other Shopify store because it's just a Framer component now.
Step 6: Publish
Publish like any normal Framer site. Once you've connected your catalog to the Framer CMS, Framerfy keeps the link live — so when you update products or pricing in Shopify, you just go to the CMS and click Sync to reflect it on your site.
Questions I had when I was setting this up
Does checkout happen in Framer or Shopify?
Shopify. Which is actually better because Shopify checkout converts well and handles all the payment security stuff you don't want to think about.
Do I need a developer?
No. If you can use Framer you can do this.
What about SEO?
Framer handles this well by default. Sitemap, semantic HTML, fast load times.


